
What we thought would be a walk in the park turned out a very long nightmare. The first problem we had was to find a suitable spot to install the heat exchanger.Underneath the radiator was possible but it was much too close to the crackshaft pulley. At any small incident the sensor could be hit so we abandonned that idea.
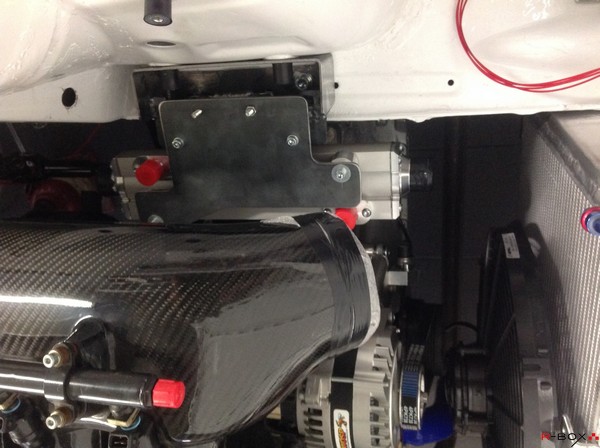
Even vertical besides the radiator we did not find a suitable place. Eventually we found a safe location under the carbon airbox.
The support needed to be home made because it is not a standard BMW M3 solution.
Since the cooler is rather heavy (filled with oil and water) the support needs to be fixed firmly.
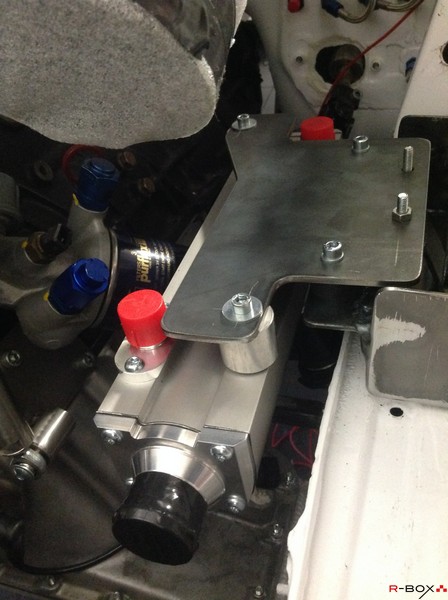
First attempt : We are going to use the horizontal plane from the left chassis bar to mount 2 M10 press nuts. Unfortunately we could only mount M6 so we had to make a MacGyver tool made of various parts like nuts, bushings,.. Theoretically this should work and it did ….for the first nut. The second nut was not properly fixed and was useless. 3 hours later we solved the problem by means of Christiaan who is left handed and could use his favorite hand to get the nut out..
We soon found out that 2 M10 bolts were not enough, there was still too much motion possible. An extra fixation against the inner fender was the only suitable solution. When designing an E30 M3 the people didn’t know we were going to search for a flat plane in that area so it was not there at all.
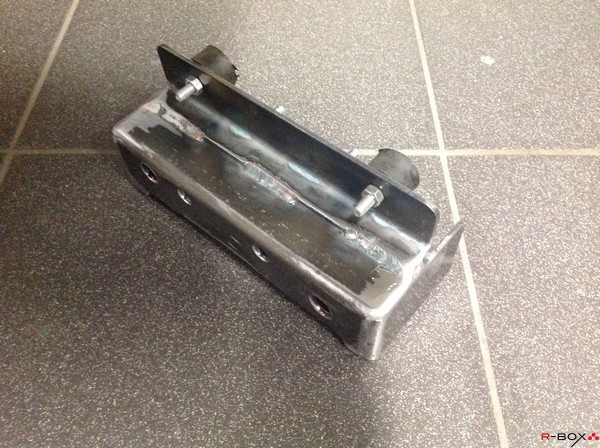
But we don’t easily give up so we welded a very big and ugly support.
As one would expect ; Dirk was not happy with the result and he used this one as a mould for a second attempt.
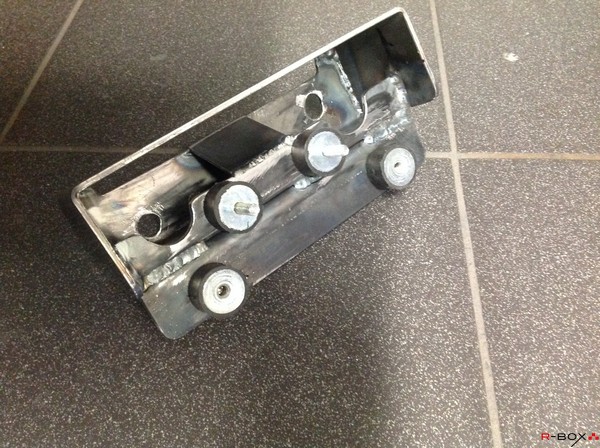
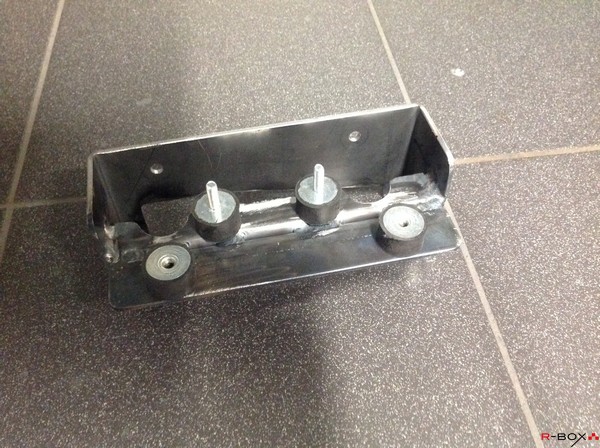
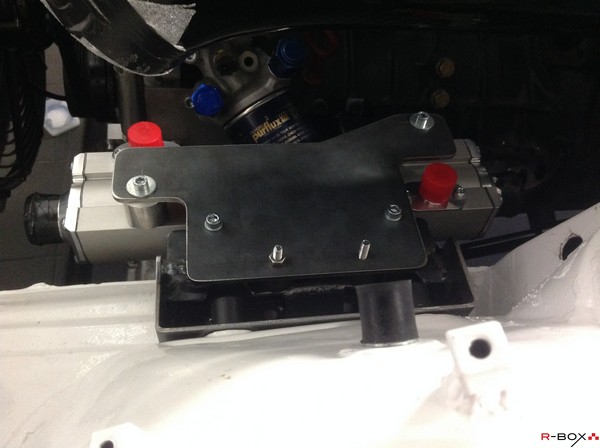
The heat exchanger is made of small channels bringing the water near the oil. It is an absolute no go to mix the water and the oil so we want to avoid tiny cracks inside these channels caused by vibrations. For that reason the support is made of 2 parts connected with 4 rubber shock absorbers.
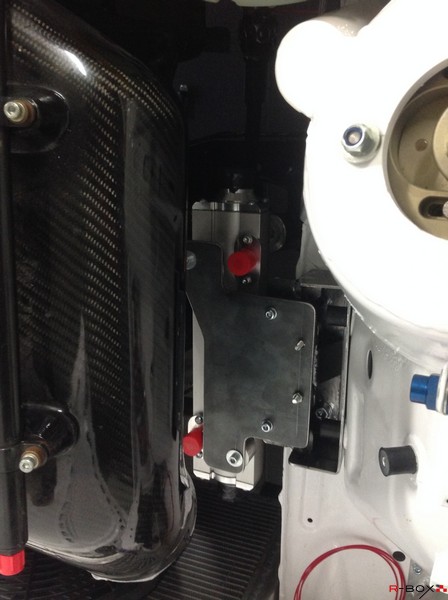
Meanwhile the correct location to bolt it was found but it looked like a monster.
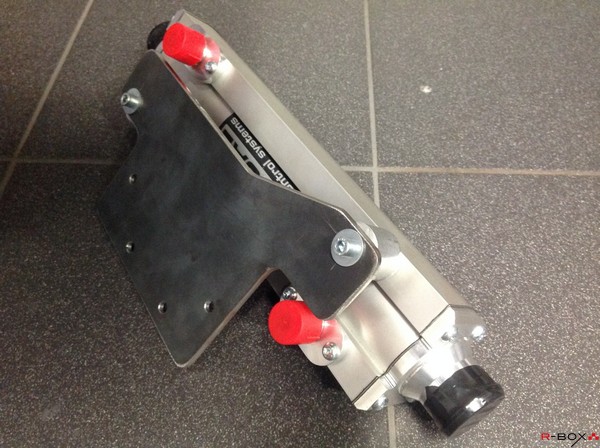
The final stage was to make a better looking support without losing all the measurements for the holes and supports.
The final result is shown in the picture, it just need to be powder coated.
In the end we made 3 versions of this support to satisfy all the critics..