These were literary the words from mother Marleen, who finally believes everything will come together, and who are we to disagree?
For more than 4 years she is front row witness of al the action. Not really because she is interested in the technical stuff, but she supplies us all the time with cookies,coffee, pasta, vol au vent, subs,… and lots of Pepsi Max. Numerous times she declared us completely crazy, or best case she returned home under ones breath. So you can imagine what a relief this quote was for us.
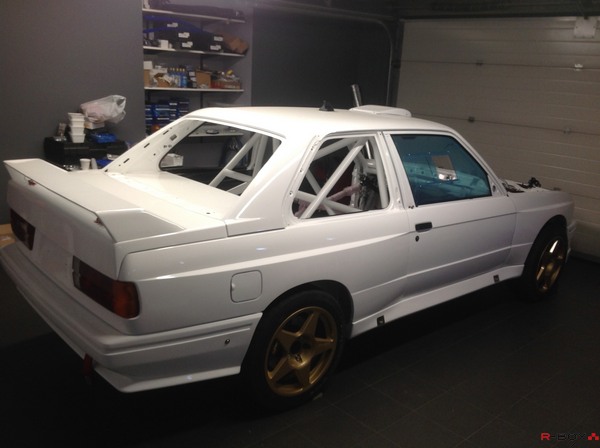
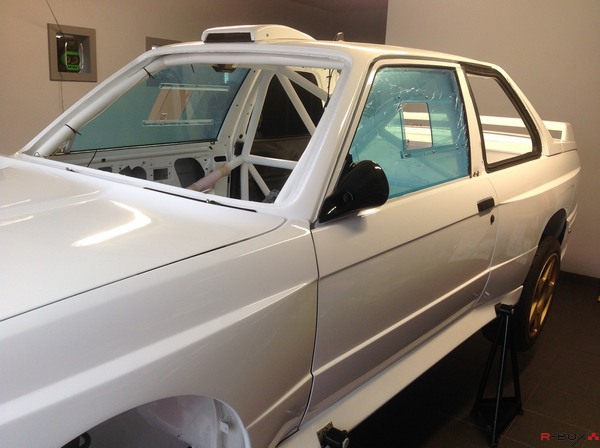
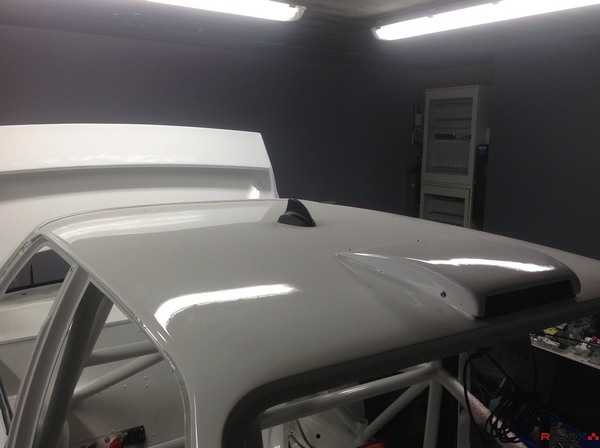
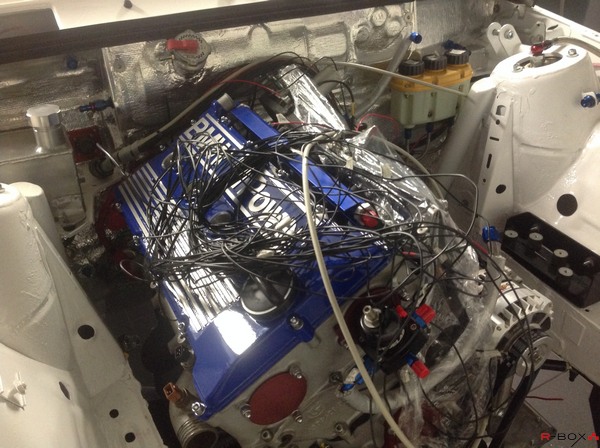
And maybe she is right, we are crazy but the most important thing is that the BMW start to look as a car.
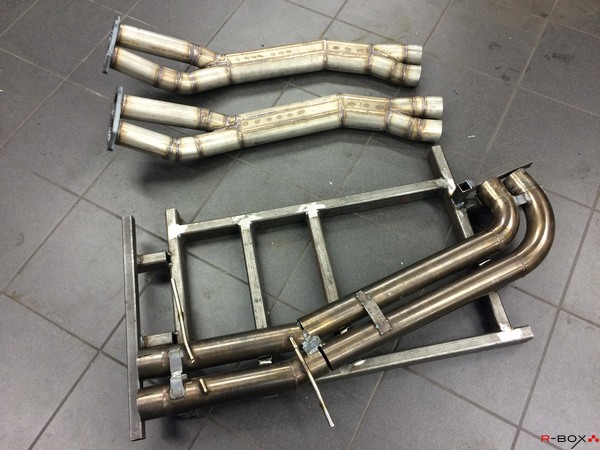
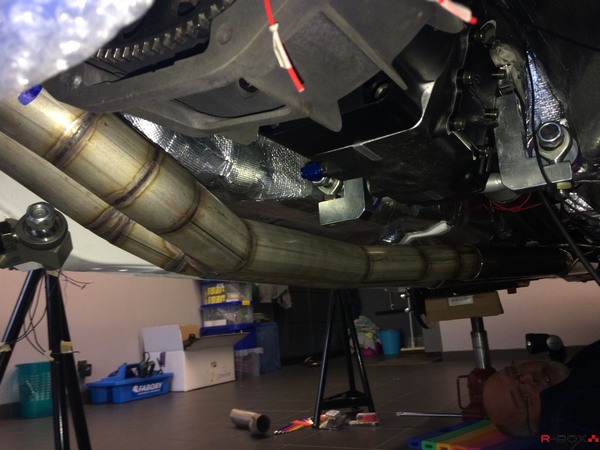
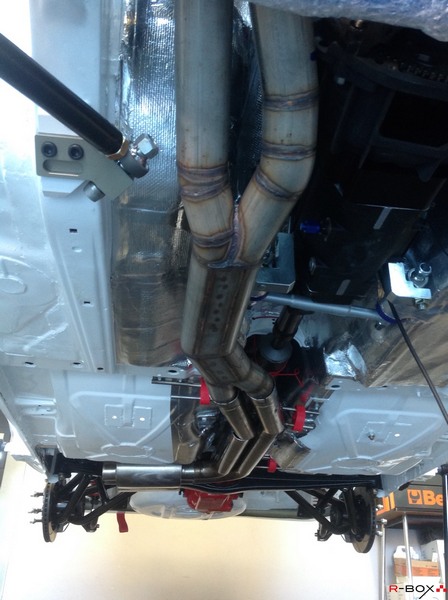
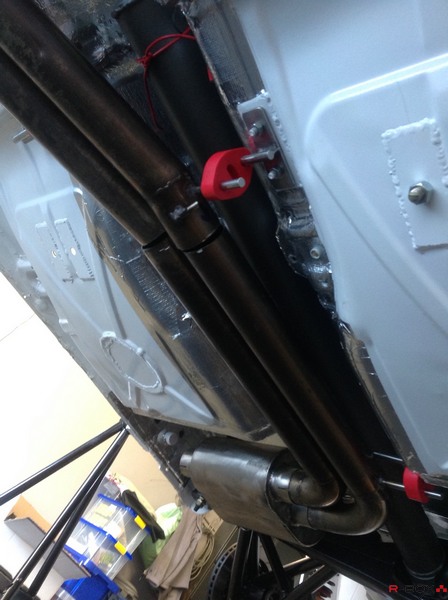
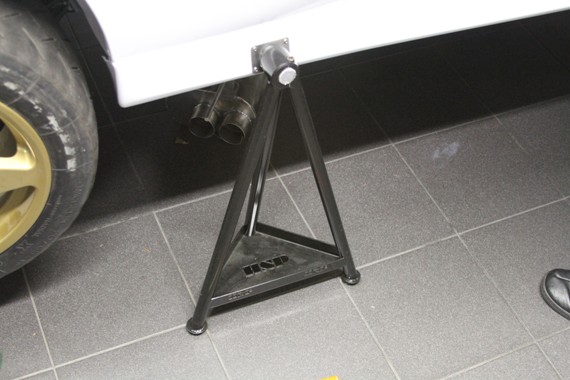
We didn’t finish the exhaust yet but we already want to show some pictures.
The front part and the rear muffler are ready. This only leaves us to finish the center part. We have also made a mould so it is easy to duplicate the exhaust line.
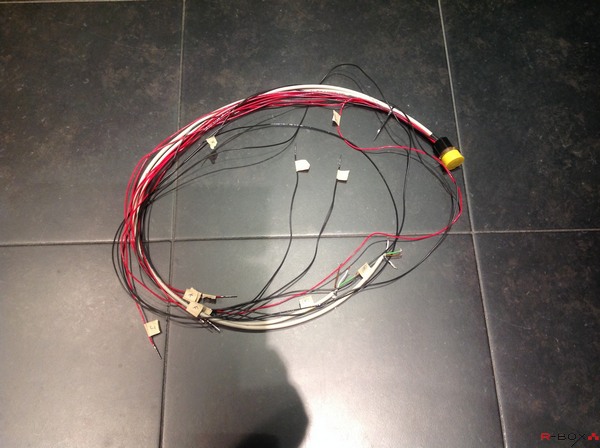
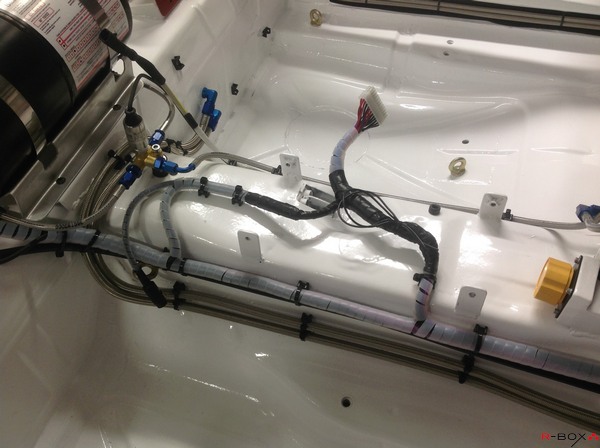
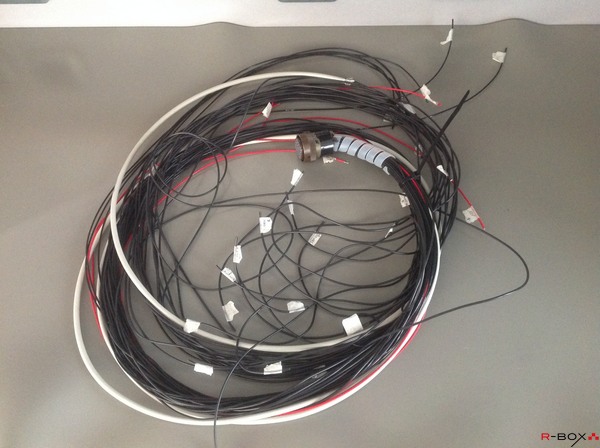
Some wires dangles already for months at the underside of the car desperately waiting to find a home in one or another connector housing. All of them are labeled with a piece of paper tape, handwritten with some kind of cryptic description that dates from a previous life. At least that’s how it looks like. Cut, gearpot, GBtemp, lambda, rev, … Luckily it still rings a bell for some of us.
Time to clean this and fix the permanent labels before we become gaga.
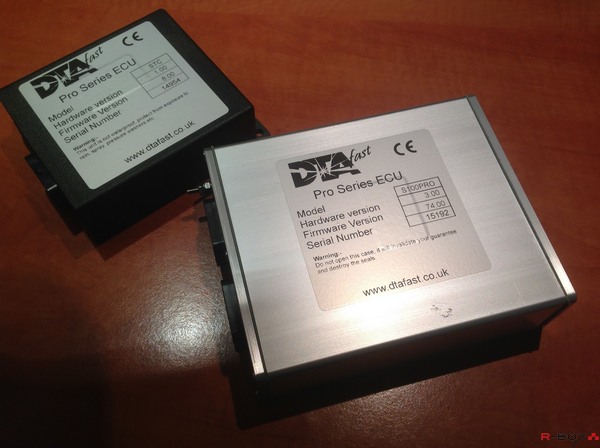
That not everything is going like clockwork on a project like the R-Box BMW is unfortunately inevitable. So every now and then a skeleton drops out of the closet and with united forces and minds we need to come up with a solution. We thought about the opportunity to set the “ hold “ RPM from the launch controller using a 10 positions switch. We thought it would be a nice feature considering that Belgian weather is not very reliable and grip conditions even less.
Minor detail for this implementation : we had to sacrifice that one analogical input for the pedal sensor of the throttle controller. DTA has a solution for this problem in the S80 and S100 but unfortunately not for the S60. Seeing that there’s no big demand for this, a firmware update hasn’t been scheduled for the near future. Bad luck for us.
So we had 2 options: 1; we forget about the launch control setting. 2; we switch to an S100. After weighing the pro’s and con’s we choose option 2. Doing so would let us make some more modifications. Seeing the S60 is intended for an engine with 4 cylinders and we have 8 injectors we were forced to control them by the pair. Using the S100 things change and we will also immediately install a camshaft sensor so that we’ll be able to control the coils and injectors sequentially. This will not increase the power of the car but we hope to reduce fuel consumption.
So yet again.. some more cables in the cable tree and a new ECU.
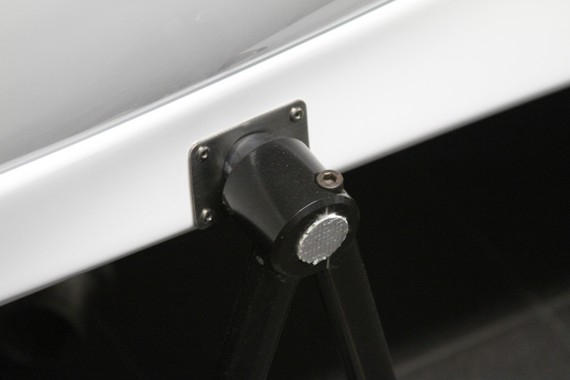
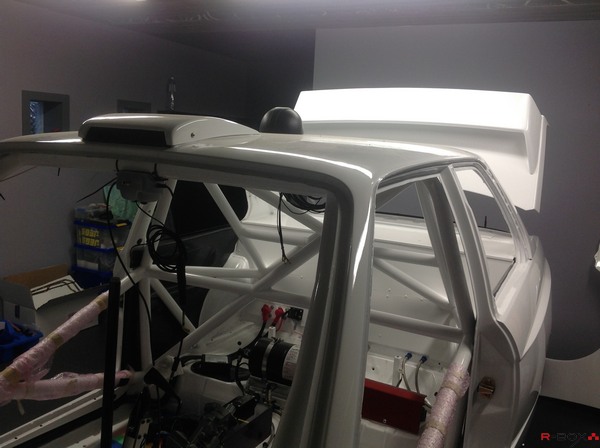
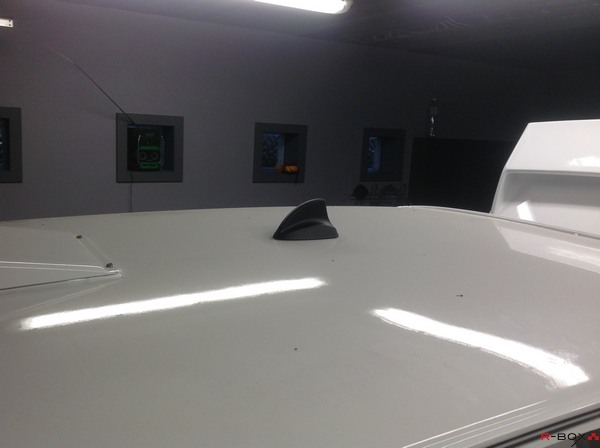
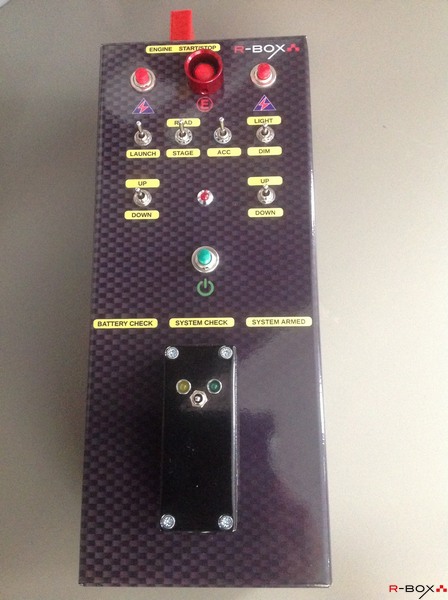
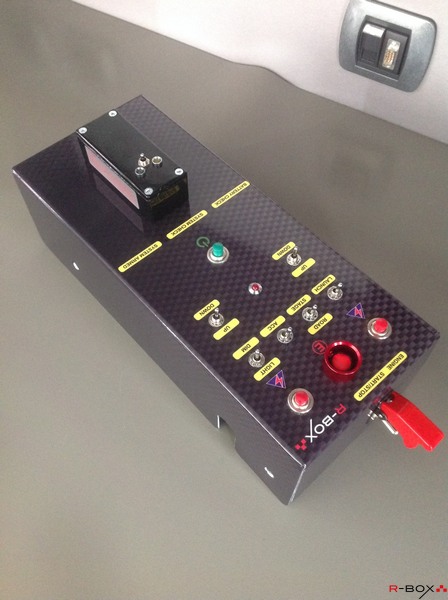
We had already stopped counting the indignant looks and remarks about our flashy antenna. Admittedly … we’ve even been contemplating to keep it as it seemed to be a real eye catcher. After wise consideration though, we’ve decided to install a little more civilized version and “ the hunchback” will be relocated to our service truck were the dimensions are a bit more in perspective.
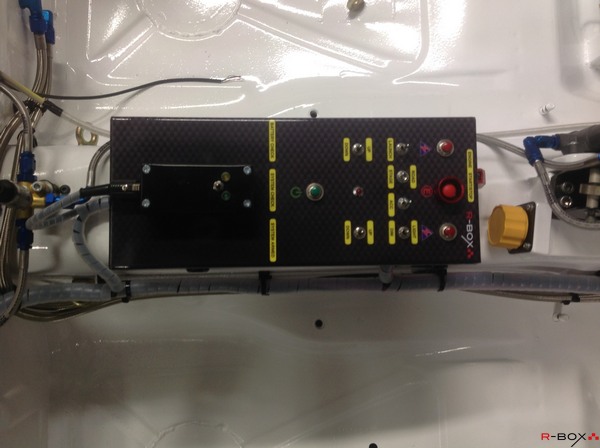
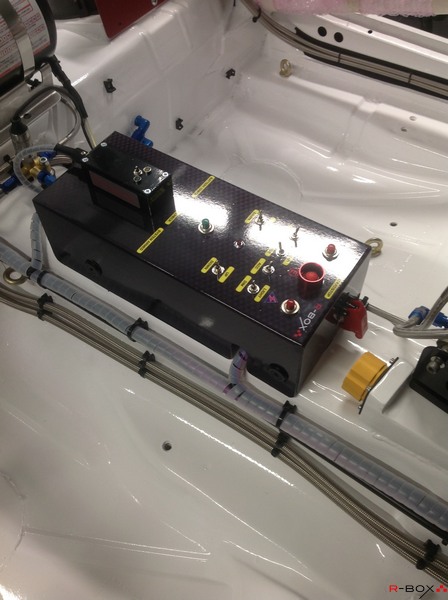
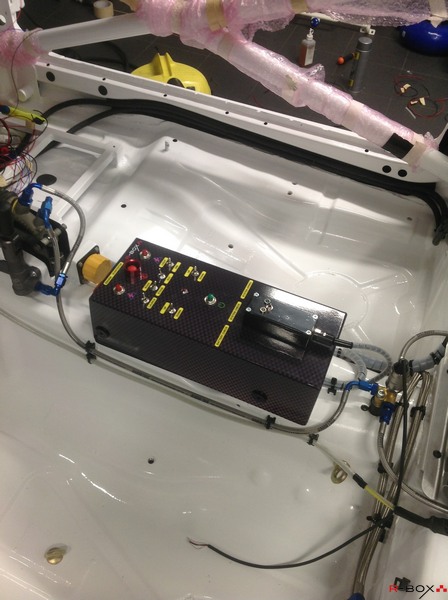
Because we still want to be able to control certain functions after being strapped in we’ve installed a little switchboard on the tunnel. Nothing spectacular but we only need a few basics.
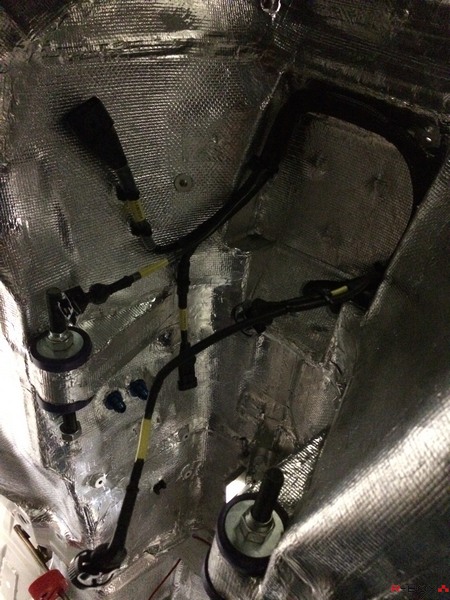
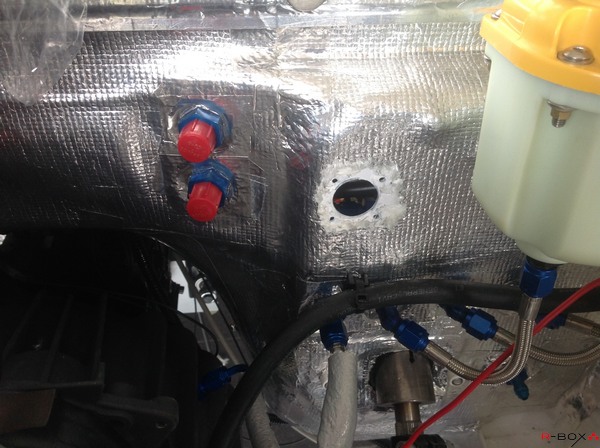
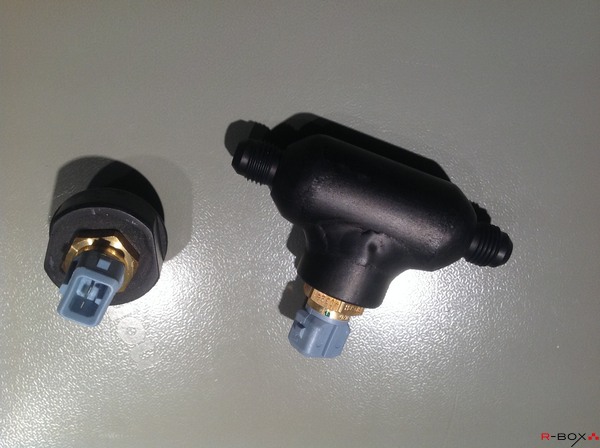
We are not nosy, but we like to get as much information from the car as possible so we installed some extra temperature sensors for the gear box oil and transmission fluid.
Seeing there were no connections in the existing hardware, we had to be inventive and created those ourselves. For the gearbox we welded an aluminum “T” to put in the oil hose. In the differential cover we replaced the speed sensor by a temperature sensor. There is no need for speed information because it’s always pedal to the metal 🙂 but we can always use our GPS module in road modus to avoid becoming a great donator to the judicial system…..
Because the two sensorcasing are only temporary and they are hiding underneath the car they can remain where they are for the time being. Anodizing metal and welding afterwards are not very compatible When there’s time to kill we’ll bring things in order so it will pass the R-Box quality standards.
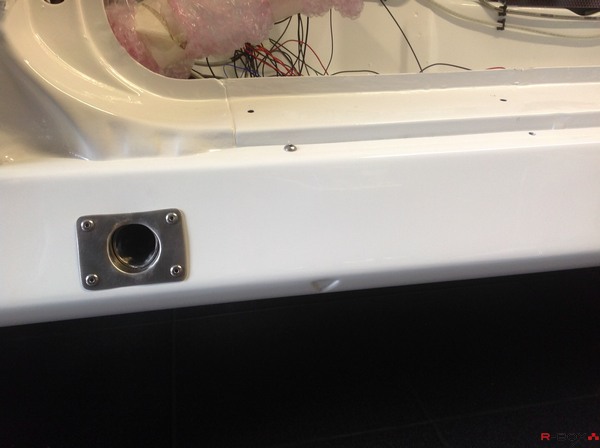
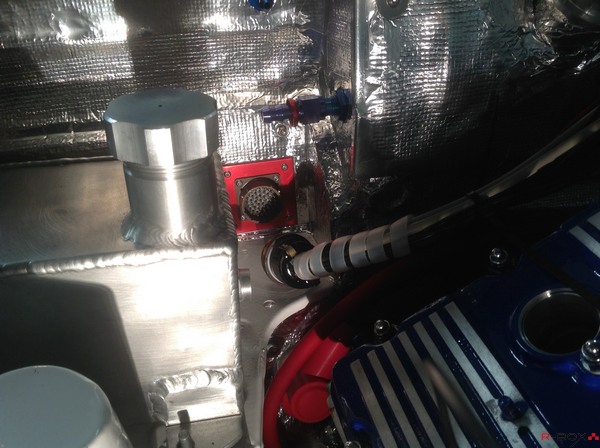
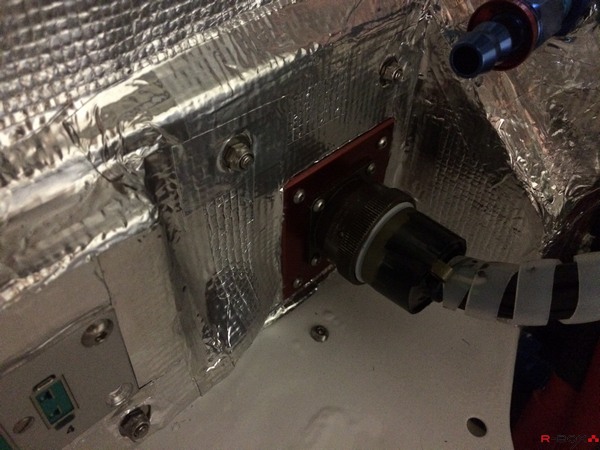
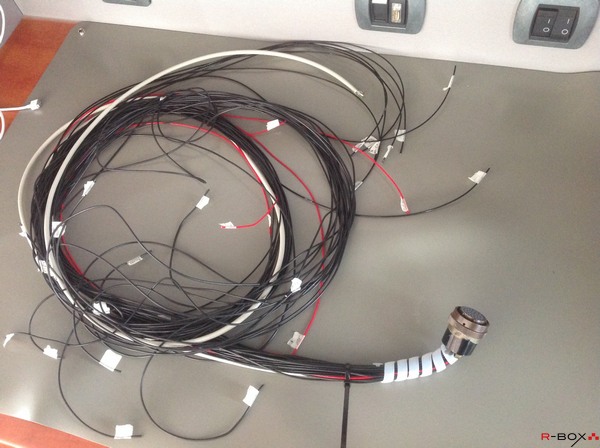
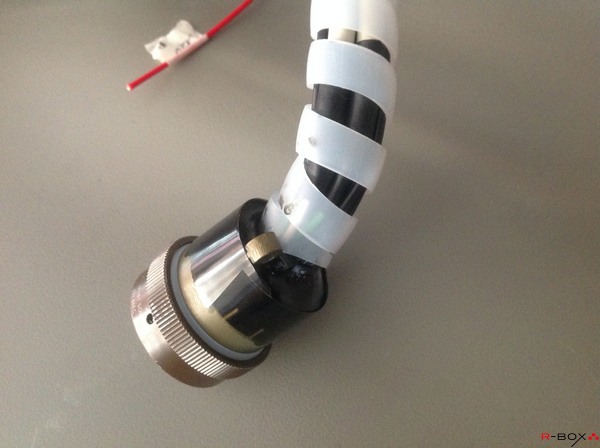
To be able to take out the engine quickly, not that we plan on doing that very often, we had grouped all electrical connections on one connector on the bulkhead. Even though we had a good solid cable tree, there were too many changes to modify the existing one and we decided to start from scratch. Where have we heard this before…
We had already professionally created and guided the male section throughout the cockpit a few months ago. Being eager to finally see some results it was time to start creating part 2. Despite the fact that we would use the same 41 pole military Souriau, be it a female version this time, it seemed that the soldering cups had shrunk over time. Or maybe it’s old age playing tricks on our eyes…
After fooling around for an evening with lots of wire, soldering iron, magnifying glass and especially lots of light the connector was equipped with the necessary copper. Because we will embed the connector in epoxy everything has to be measured thoroughly. Once embedded there’s no way back. To make these controls we needed our team supervisor, who on that day happened to be wearing his own correction tools for his eye sight ;), seeing we’re all In the same age range we have to admit that deterioration started; nothing had shrunk.
Armed with glasses, magnifying glass, extra light and a multi meter we checked and double checked every connection and made sure there were no closures in contact with nearby pins. After performing some magic tricks using some tape, mica foil and a pharmaceutical syringe we embedded the cable assembly for eternity in epoxy. At least the part where the wires are attached to the connector.
After the epoxy had settled for 2 days we repeated the control procedure and now we can assemble and finish the cable tree . Critical step to have all sensors, coils, injectors.. communicate with the ECU